
Battleplan Orders Guide: Draw, Prepare and Execute Plans
Learn Battleplan drawn orders: choose a capable formation, edit the operation area, check readiness and prepare follow-up stages before advancing.
FAQ
Why is an order missing from a formation’s menu?
What do the different order colors mean?
Can you edit a drawn operation area?
What happens when you draw an order?
Drawing translates a high-level intention into a route or area for a formation. The official product description describes multi-step, multi-unit plans, with officers and companies carrying out orders autonomously. Your job is to make the objective and sequence coherent, then observe whether the plan still fits the battlefield.
Before practicing the controls, read the beginner preparation checklist. An order is easier to understand when you know which formation is selected and which objective it serves.
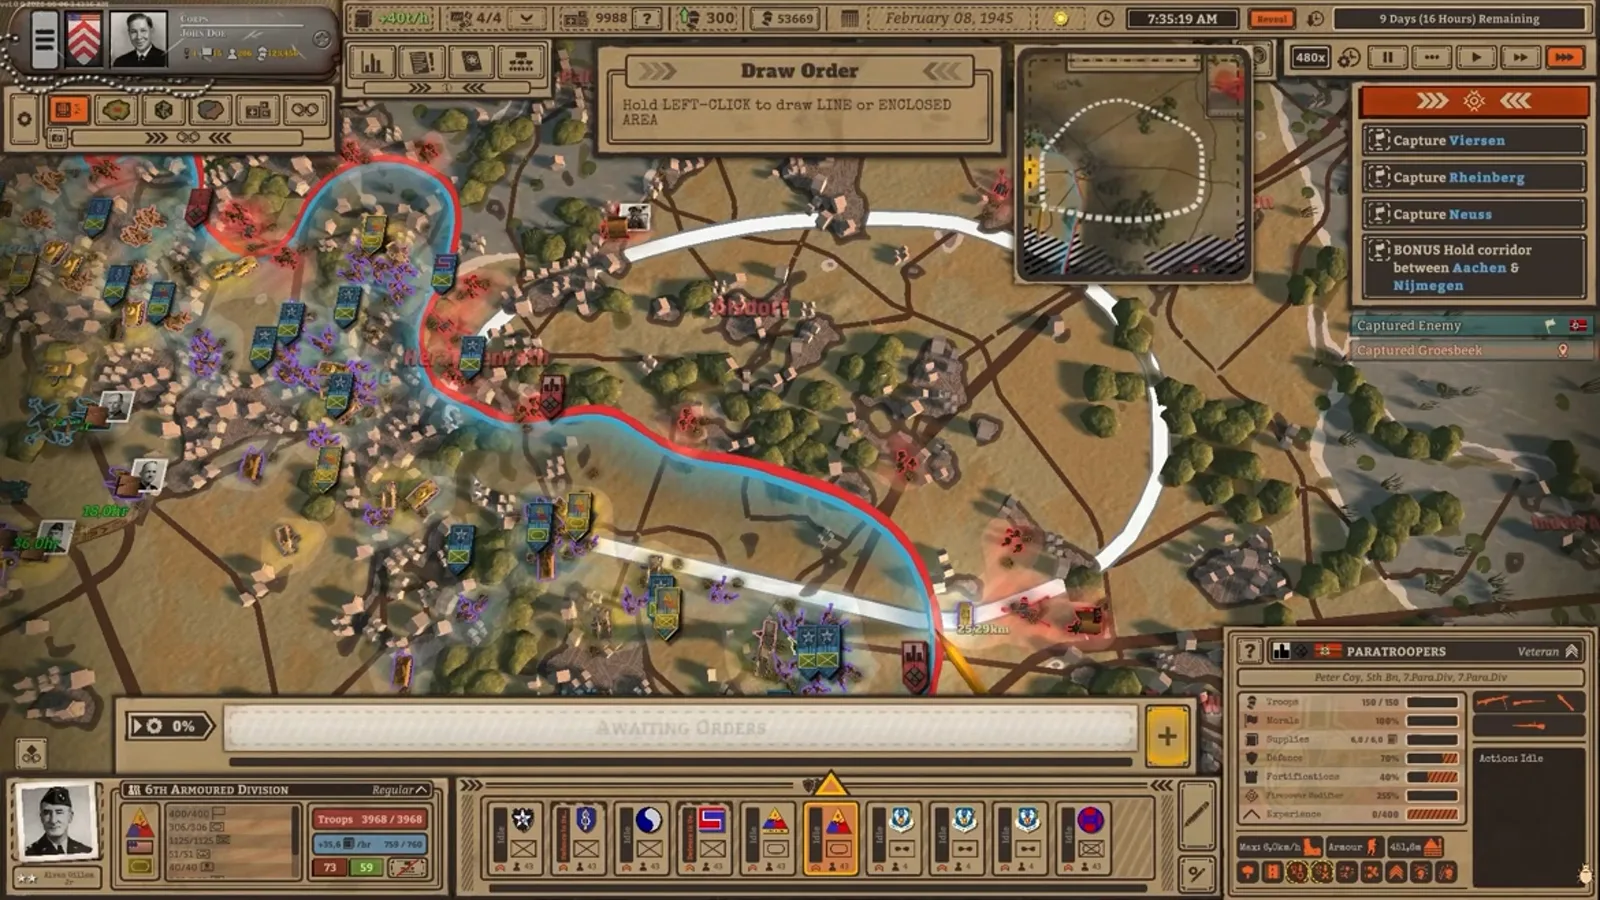
Official Steam gameplay footage shows drawn attack routes. These routes illustrate the interface; they are not a tested solution for your mission.
Why can’t your formation perform every order?
An order menu reflects a formation’s capabilities. In the release tutorial at 6:59, scouting requires scouts, bombardment requires artillery, and mining or clearing mines requires engineers. If a task is missing, inspect the formation rather than choosing an unrelated order simply to keep it moving.
| Intended task | First check |
|---|---|
| Scout ahead | Does this formation contain a scouting capability? |
| Prepare a bombardment | Is artillery available in the formation? |
| Work with mines | Are engineers present? |
| Hold or take an area | Does the selected formation match the job and have supply for it? |
The last row is a planning question, not a verified numeric combat rule. Use the army organization reference to understand which part of the hierarchy you selected.
How do drawing, readiness and execution fit together?
In the tutorial’s readiness setup, treat them as separate checks:
- Draw: choose the order and define the intended area or route.
- Review: confirm the formation, boundary and objective.
- Prepare: allow the plan to reach readiness.
- Execute: explicitly start the prepared order.
- Observe: watch progress and prepare the next stage.
The execution explanation at 8:14 stresses executing the first planned order before starting the demonstrated battle. It also recommends planning the next stages while the current order executes because readiness takes time. No fixed readiness duration or penalty value is established by this source.
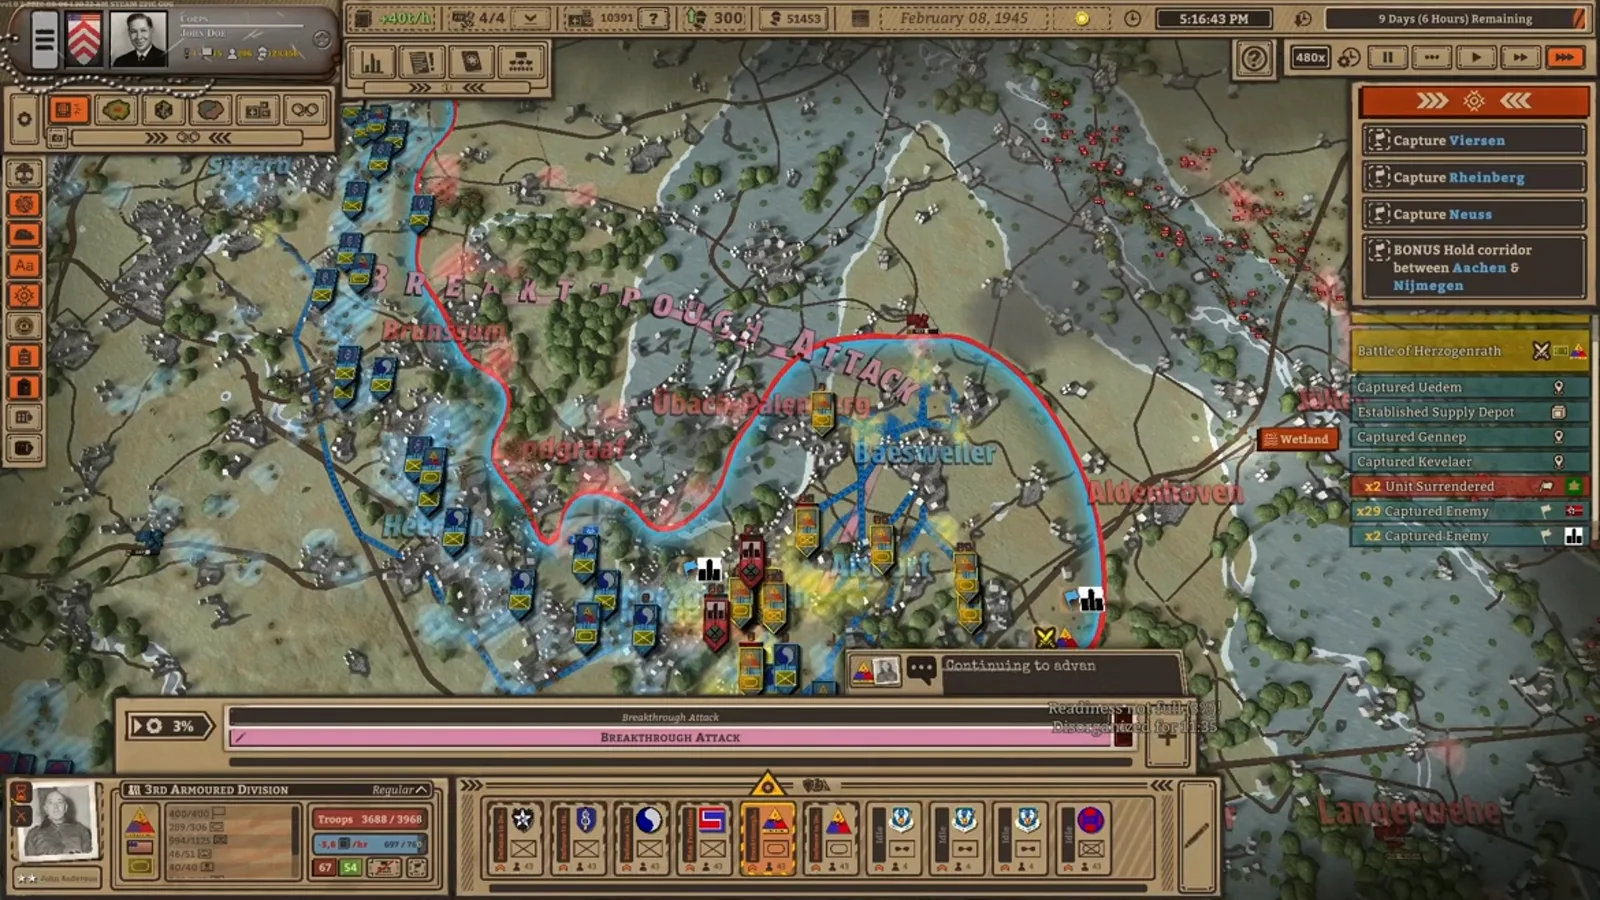
Official gameplay footage: the order has a defined operation area and its own progress display.
How do you read colors and fix an area?
There are two color systems. In the tutorial’s color explanation, order-menu categories are blue for defensive tasks, red for offensive tasks and gray for specialist tasks. The drawn orders on the map instead use the formation’s color. A colored outline therefore does not necessarily tell you the order’s tactical category.
At 10:38, the creator demonstrates adjusting an area’s border using right-click dragging and moving the entire zone with left-click dragging. Inspect the current control hints if your build behaves differently. After any edit, check what terrain and objectives the revised area includes; a cleaner shape is useful only if it describes the intended task.
The newer zone-order system is discussed separately at 1:33: it assigns areas of operation and allows units to transfer between zones. The creator mostly demonstrates manual staged plans, so this page does not claim to be a complete zone-system manual.
What should you plan after a breakthrough?
The tutorial demonstrates an armored breakthrough with infantry following on a Seize Ground order. That is a useful example of assigning different jobs: punch through, then deal with remaining defenders and occupy the ground. It is the creator’s tactic in the demonstrated mission, not a universal optimal recipe.
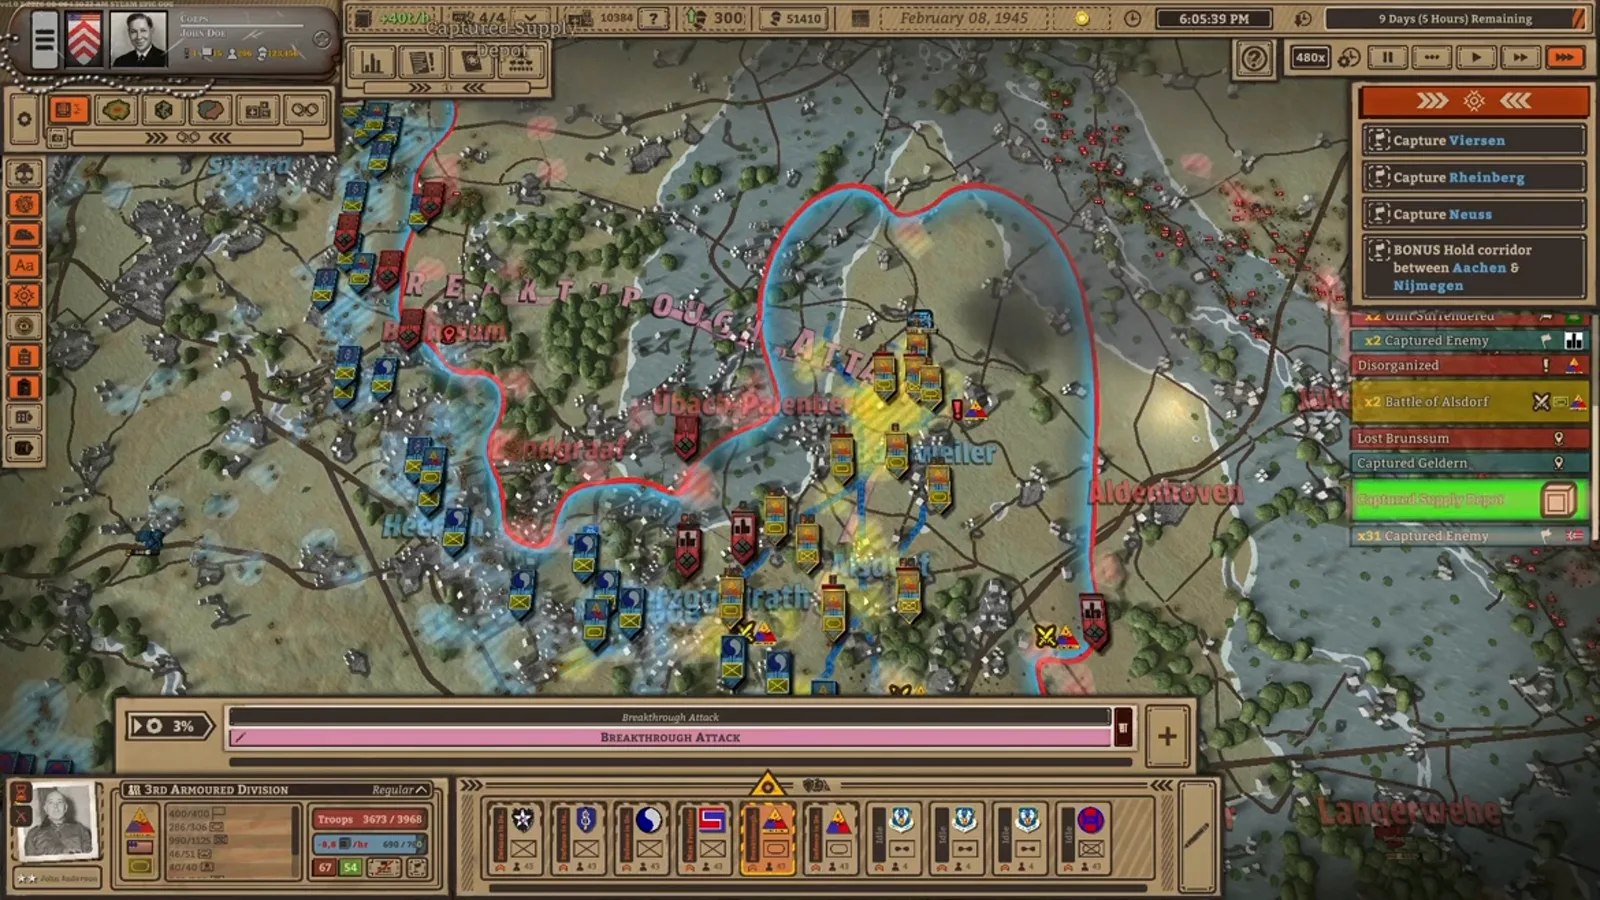
Official footage illustrates monitoring an operation after drawing; it does not prove a particular readiness timing.
Before extending the next stage, ask whether the infantry and supply route can keep up. An advance that crosses the front is still unfinished if it leaves a fragile corridor behind it. Pause when a task finishes or fails, review the formation’s condition, and change the next order if the situation no longer matches the original plan. The time-control guide explains that inspection rhythm.
Where do these instructions come from?
Reviewed October 13, 2026 using the official Steam listing and perafilozof’s release-day tutorial, which discloses Slitherine sponsorship. Screenshots are frames from official Steam promotional footage, © the game’s owners. Interface observations refer to the cited footage; this site has not independently tested every mode or mission.
Related videos

Related Articles
guides
Battleplan Beginner Guide: First Orders and Battle (2026)
Start the 2026 Battleplan WWII game with a practical preparation checklist: tutorial missions, readiness mode, army setup, drawn orders and supply.
guides
Battleplan Supply Guide: Routes, Hubs and Resupply (2026)
Keep a Battleplan advance supplied: inspect supply routes, relocate hubs carefully, rebase aircraft and avoid outrunning your logistical support.
mechanics
Battleplan Terrain and Time Guide: Plan Routes and Pauses
Read Battleplan terrain, manage pause and fast-forward, and plan attacks around supply, readiness, night reports, and the mission deadline.
Was this helpful?
Thanks for the feedback!