
Battleplan Terrain and Time Guide: Plan Routes and Pauses
Read Battleplan terrain, manage pause and fast-forward, and plan attacks around supply, readiness, night reports, and the mission deadline.
FAQ
Can I pause and speed up Battleplan?
Does terrain affect supply?
Should I keep attacking at night?
Plan a route you can sustain
Do not judge an advance only by the distance between your army and an objective. Look at the roads, settlements, ground between them, and the supply situation behind your leading formation. Then decide how much territory you can reasonably take before the next pause and review.
The official Steam description says the battlefields use real-world geography, with roads, towns, forests, and swamps in their real locations. It also states that terrain dictates supply flow. That supports careful map reading; it does not give us a verified table of movement penalties or cover bonuses.
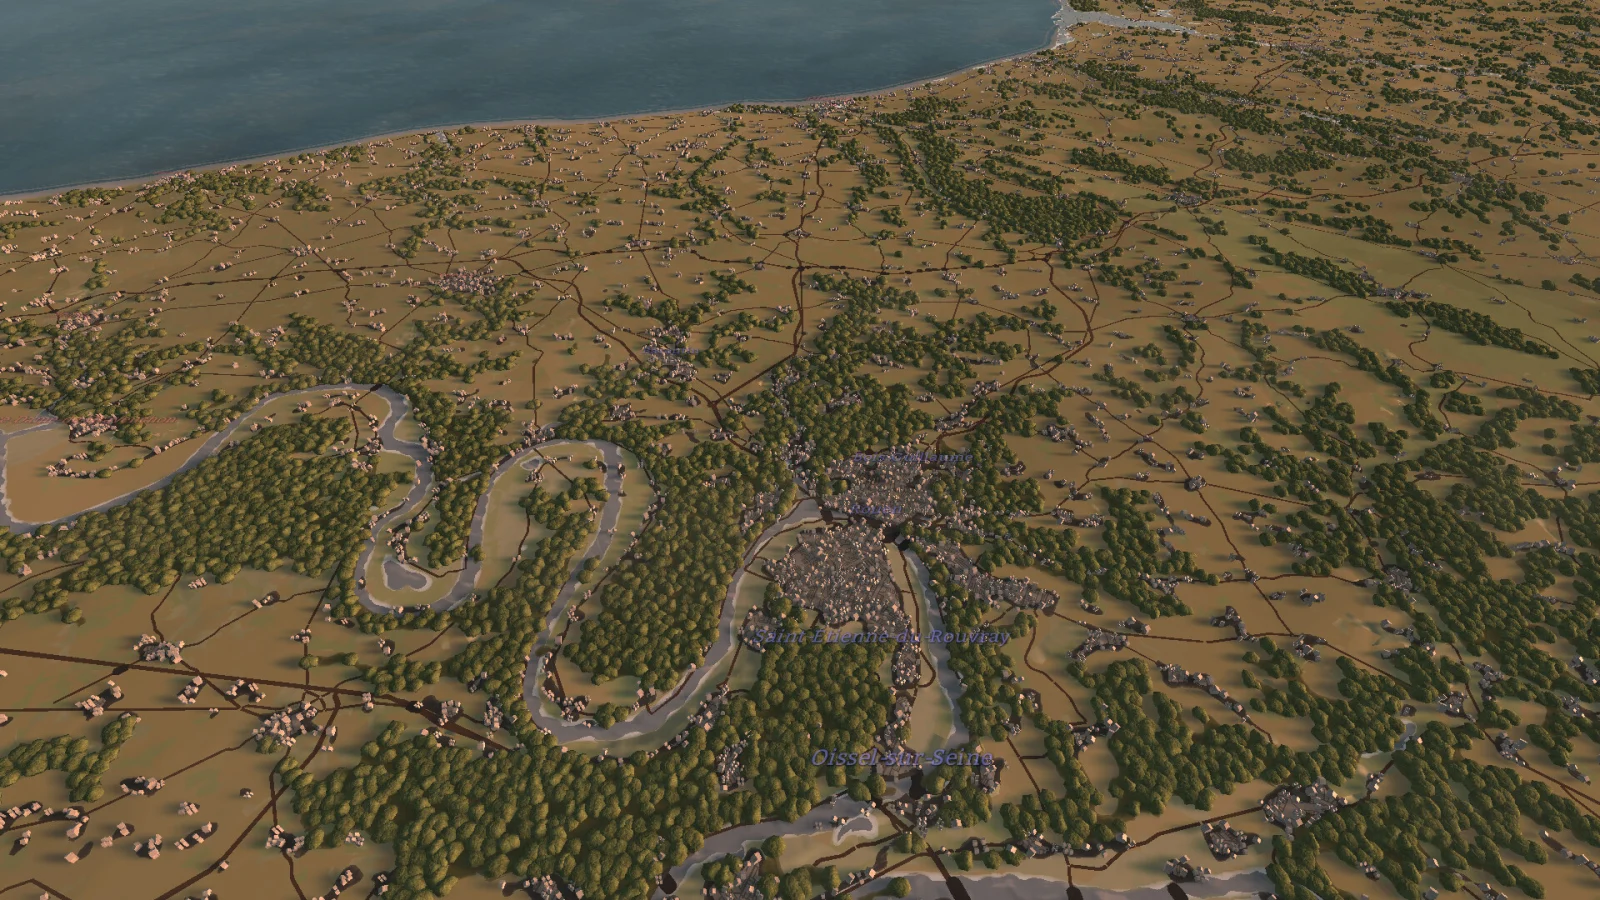
Official Steam screenshot: study the landscape around a route, not just its endpoint.
If you are still finding the controls, begin with the first-mission checklist. Once you can select formations and draw orders, use this page to decide when an advance needs a pause or a shorter objective.
Read the map in three passes
First, locate the objective and the connected roads and settlements. Second, identify where your leading force will be relative to the supporting formations. Third, check the supply overview before extending the route.
The creator recommends switching strategic overlays at 13:50 to understand the front line, supplies, and visibility. No single map view answers all three questions.
| What you see | Check next | Planning decision |
|---|---|---|
| An objective far beyond the current front | Supply reach and the next usable position behind the force | Split the advance into stages rather than drawing one ambitious push. |
| Armor moving ahead of infantry | Remaining enemies beside the corridor | Prepare infantry follow-up before extending the spearhead. |
| Woods, settlements, or unclear enemy positions along the approach | Scout coverage and unit condition | Gather information before committing the main force. |
| High ground near an artillery position | The elevation view and the mission’s actual situation | Evaluate it; the official description specifically recommends examining elevation for artillery. |
These are planning checks, not numerical terrain rules. Do not assume a road guarantees supply or a forest guarantees safety. If the route is creating a sustainment problem, work through the supply guide before redrawing the offensive.
Keep readiness separate from the clock
Battleplan simulates missions second by second. The official description gives mission lengths from a week to a month and allows pause, real-time play, and fast-forward. Meanwhile, the tutorial’s readiness mode makes order preparation its own consideration.
At 00:30–01:31, the creator explains that readiness mode permits new plans throughout the day, but executing without penalty requires 100% readiness. Drawing a plan and being ready to execute it are different events. The drawn orders guide explains that workflow in more detail.
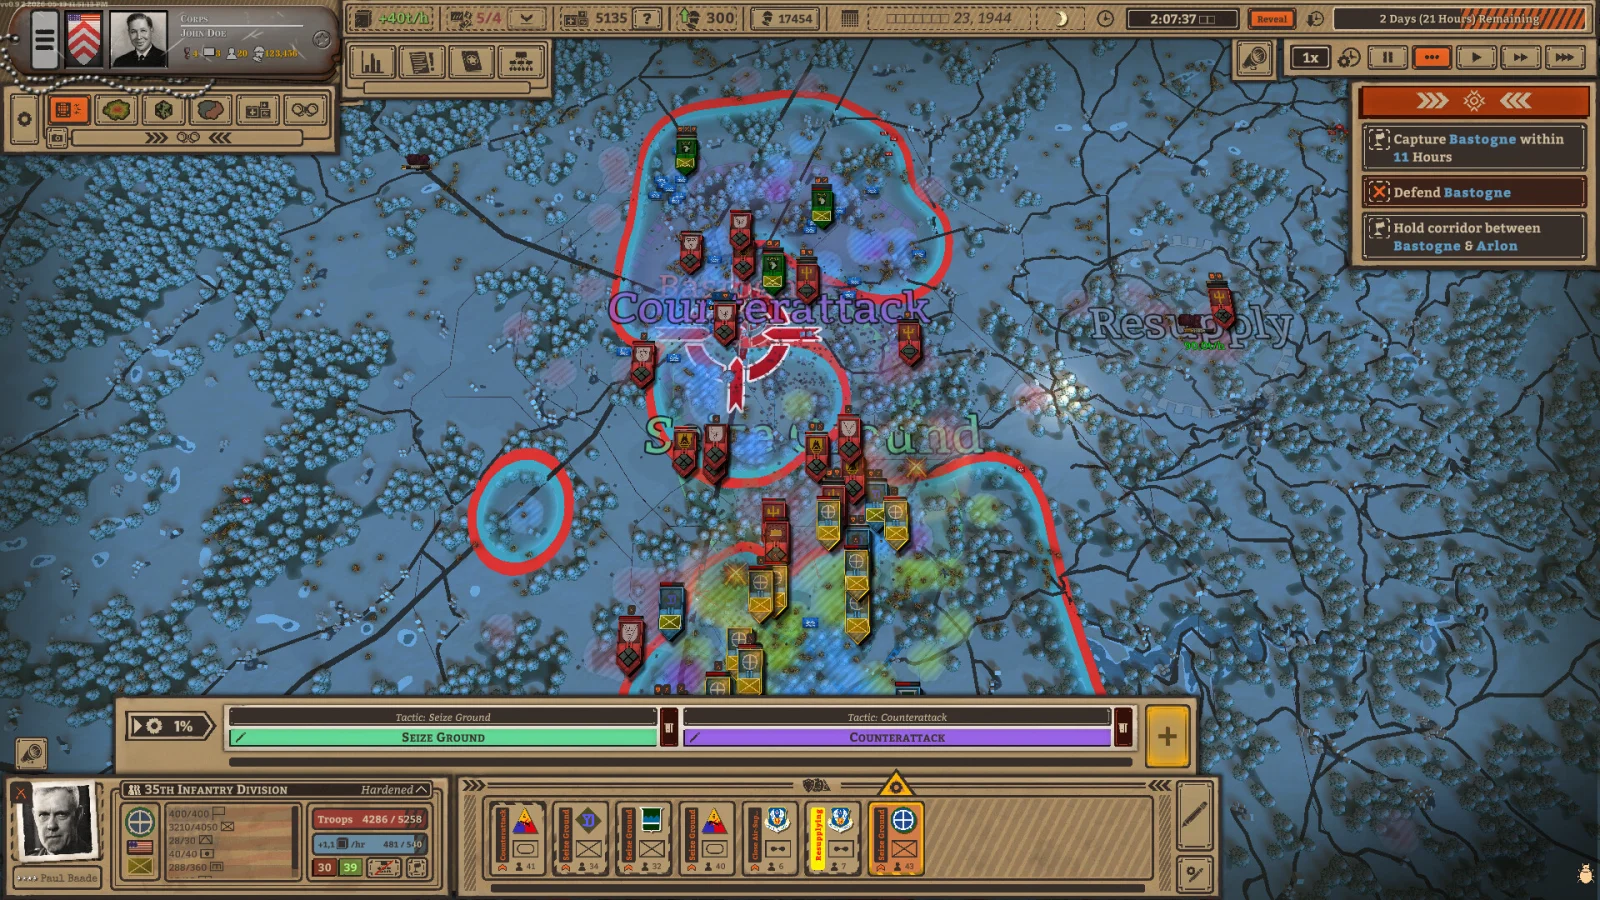
Official Steam screenshot: the map and order bars describe different parts of the operation.
Before increasing speed, ask whether the current order is executing, whether the next order is preparing, and whether supplies can support both. At 08:43, the creator uses the upper-right time controls and advises pausing to add plans when earlier ones finish or fail.
Fast-forward is useful while waiting for a process you understand. Slow down or pause when a formation reaches new ground, a plan fails, or supplies need attention. Otherwise you may notice the problem only after the leading force has moved farther away from its support.
Use night as a review point
The 14:52–15:54 tutorial sequence describes night reports showing supply expenditure, manpower losses, and officer injuries. The creator observes little attacking progress at night, while movement in friendly territory remains possible. That is a reason to reassess the next operation, not proof that night combat is disabled.
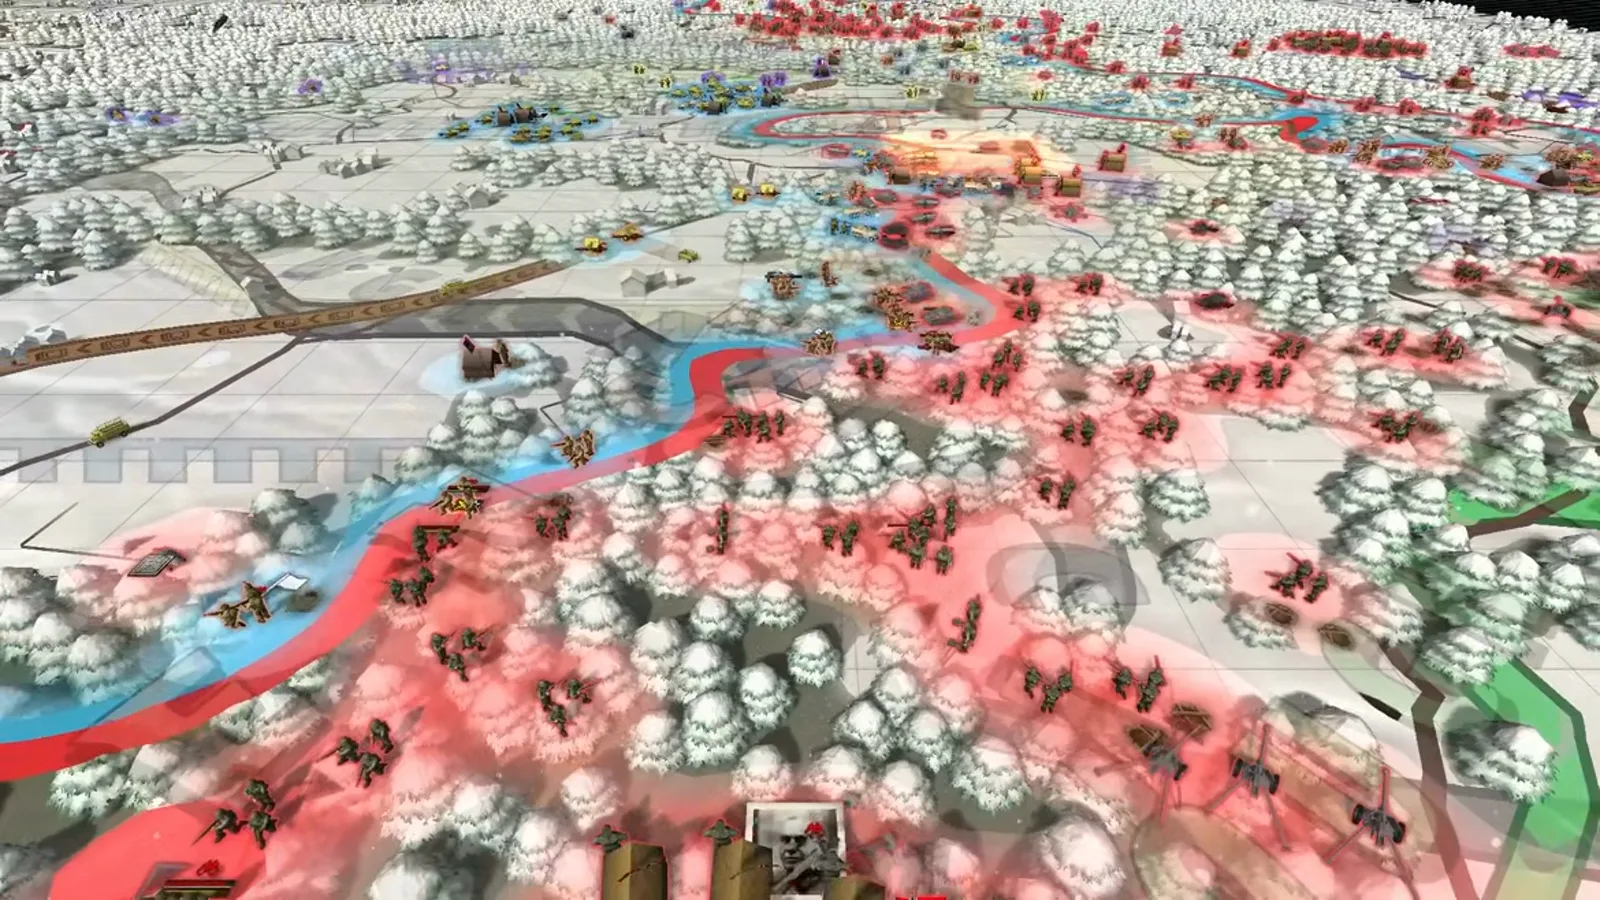
Frame from an official Steam gameplay loop at 6 seconds; promotional terrain context, not the tutorial’s nightly report.
Use the report to ask: has the previous push cost more than expected, which formations need attention, and is the next supply position ready? Check units and officers if the report raises questions about formation condition or personnel.
Finally, review the mission deadline before spending another day on preparation. At 16:56, the creator points to the remaining mission time at the upper right. A carefully prepared attack still needs enough time to reach its objective.
Sources and review scope
This independent guide is based on the official store and perafilozof’s timestamped launch-day tutorial, not hands-on testing. Screenshots and the gameplay frame are official Steam media, © Slitherine Ltd. / Foolish Mortals Games Inc. The loop frame was upscaled from the publisher’s 1170-pixel source. No unverified terrain multipliers, shortcut keys, or guaranteed routes are presented.
Related videos

Related Articles
guides
Battleplan Beginner Guide: First Orders and Battle (2026)
Start the 2026 Battleplan WWII game with a practical preparation checklist: tutorial missions, readiness mode, army setup, drawn orders and supply.
guides
Battleplan Orders Guide: Draw, Prepare and Execute Plans
Learn Battleplan drawn orders: choose a capable formation, edit the operation area, check readiness and prepare follow-up stages before advancing.
guides
Battleplan Supply Guide: Routes, Hubs and Resupply (2026)
Keep a Battleplan advance supplied: inspect supply routes, relocate hubs carefully, rebase aircraft and avoid outrunning your logistical support.
Was this helpful?
Thanks for the feedback!